Shop VOL ② — MOON
FOIL MOON
Three simple activities to explore the surface of the moon using foil - two ways.
Vocabulary: craters, rubbing, texture
Activity Time: 5 minutes
Ages: 3+
MATERIALS
Black Paper, White Paper, Foil, Scissors, Glue, Silver Acrylic Paint, Coins (or other circular flat objects)
FOIL TO CREATE TEXTURE

INSTRUCTIONS
Silver on Black
- Cut out a circle from a piece of cardstock to use as a stencil.
- Place the stencil over the black paper.
- Crumple up the foil to use as a brush and dip into the metallic silver paint.
- Continually press the foil on the black paper to create a textured moon.

INSTRUCTIONS
Silver on White
- Use the discarded white circle from the cardstock stencil.
- Repeat the same painting process but on the white circle.
- Once the paint has dried, glue the white moon with metallic paint onto a black sheet of paper.

PROMPTS
- After applying the silver paint to the white and the black, which do you think looks most like the moon?
- How are they the same, how are they different?
CREATING TEXTURE WITH FOIL

INSTRUCTIONS
- Cut out a circle from a piece of foil.
- Scatter coins (or similar objects) underneath the foil.
- Take your fingers and rub the foil over the coins to create textured rubbings, or craters.
- Once happy with the result of your moons surface, apply glue to the backside and adhere to a piece of black paper.

NOTES
These materials provide a lot to experiment with! These were all done on a relatively small scale but you could easily GO BIG. Other ideas:
- Create a three-dimensional moon by crumpling up the foil, either by crumpling up a ball of foil or building up from the paper plane.
- Why stop there? You could create a scale model of the entire solar system.
- Use the foil to create spacesuits for different figures lying around the house and stage your own mission to the moon.
VOL ② — MOON
Ft ft. Tom Sachs & Lucia Pham
![VOL ② — MOON - MAJO IDEAS]()
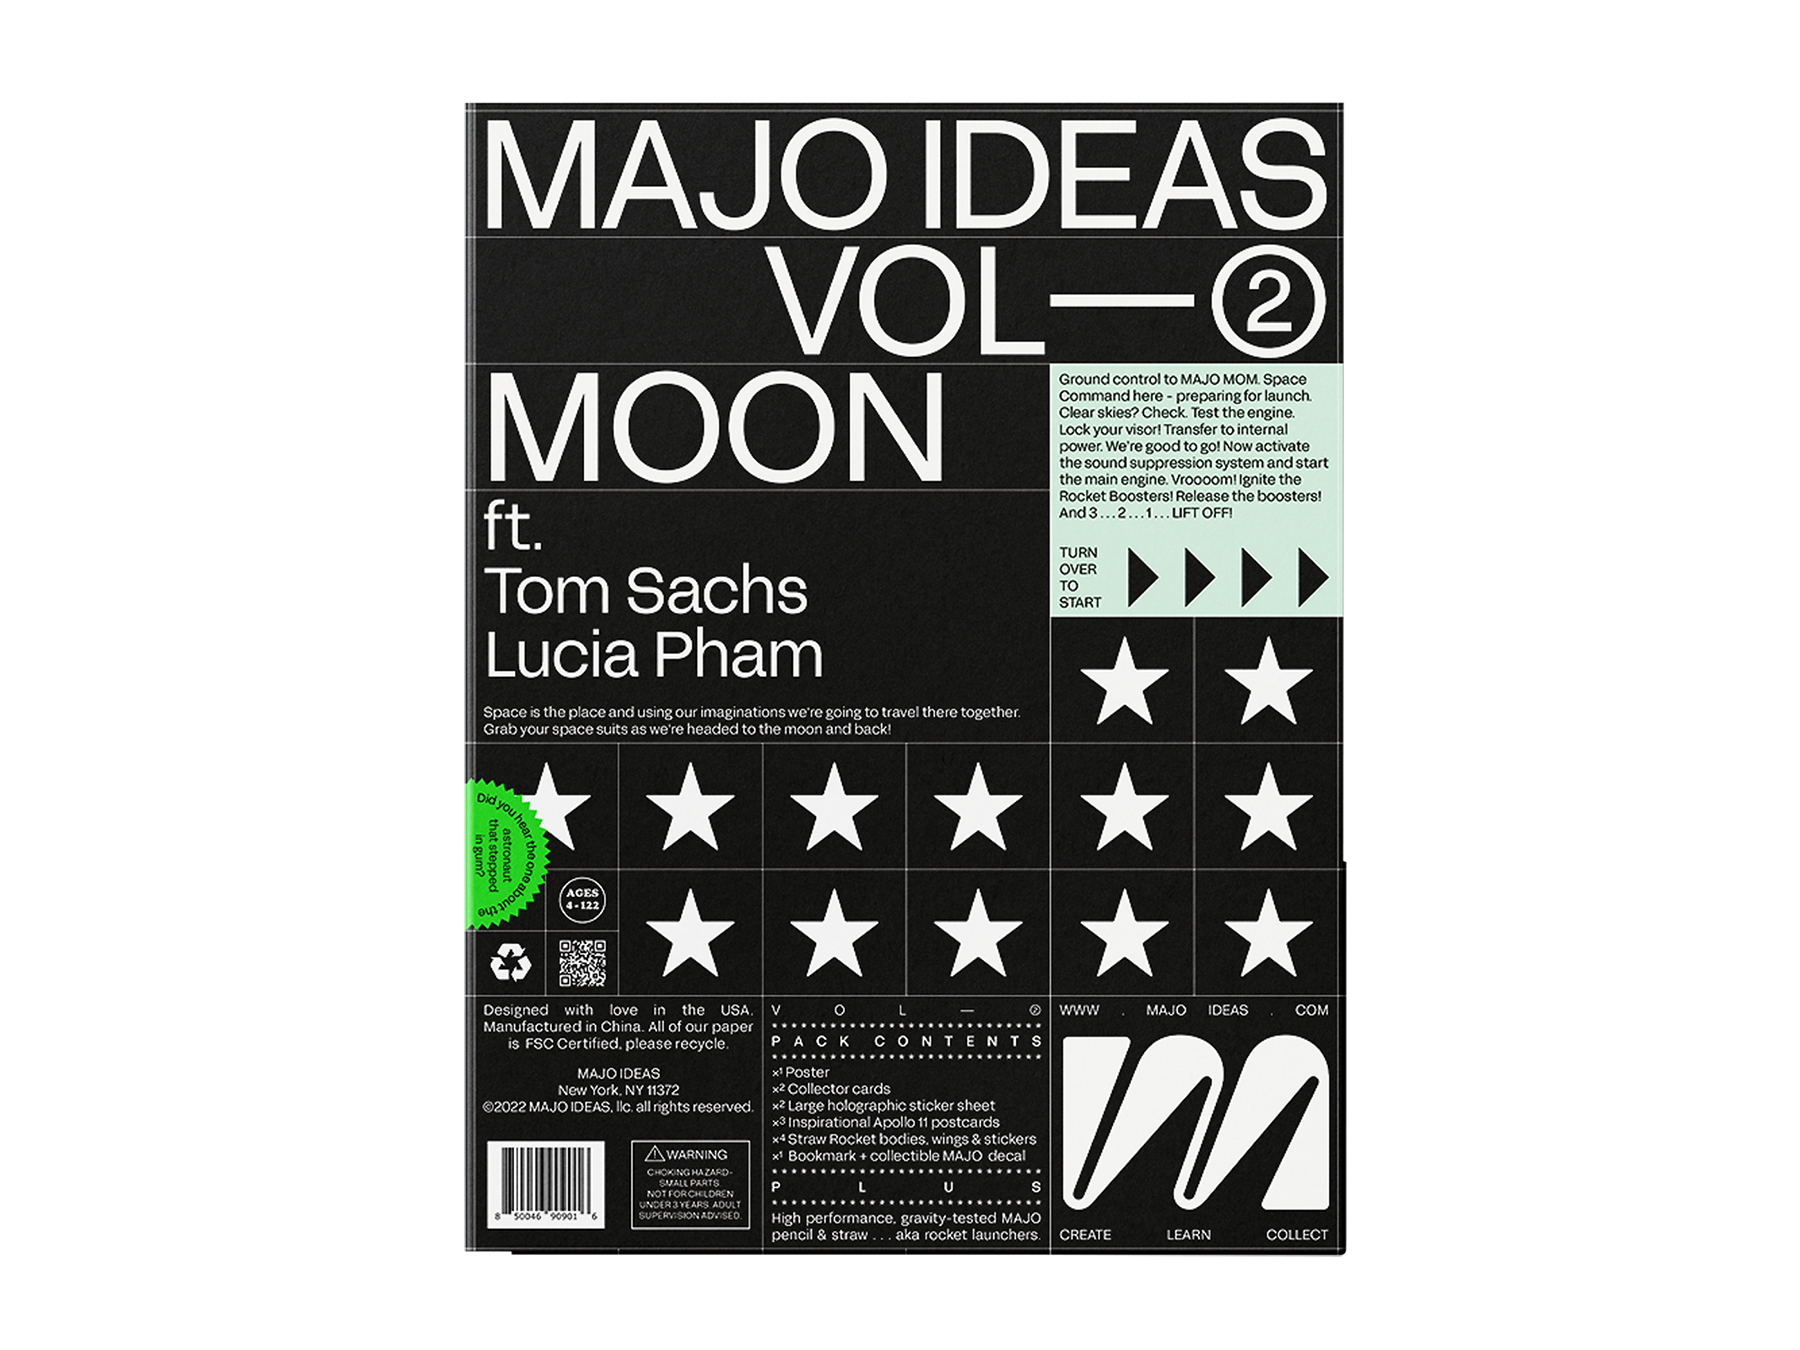


$24.00
Add to cart